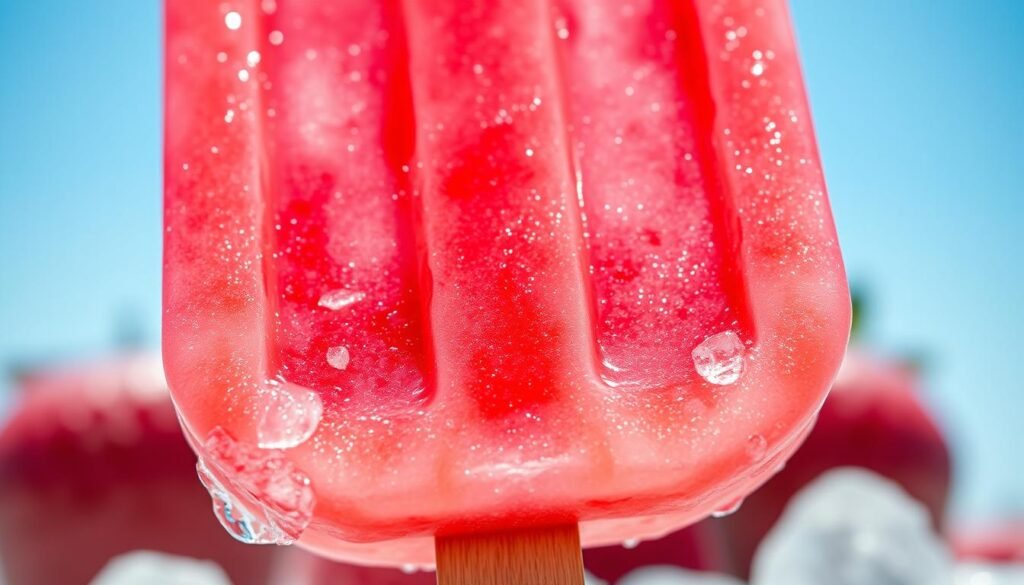
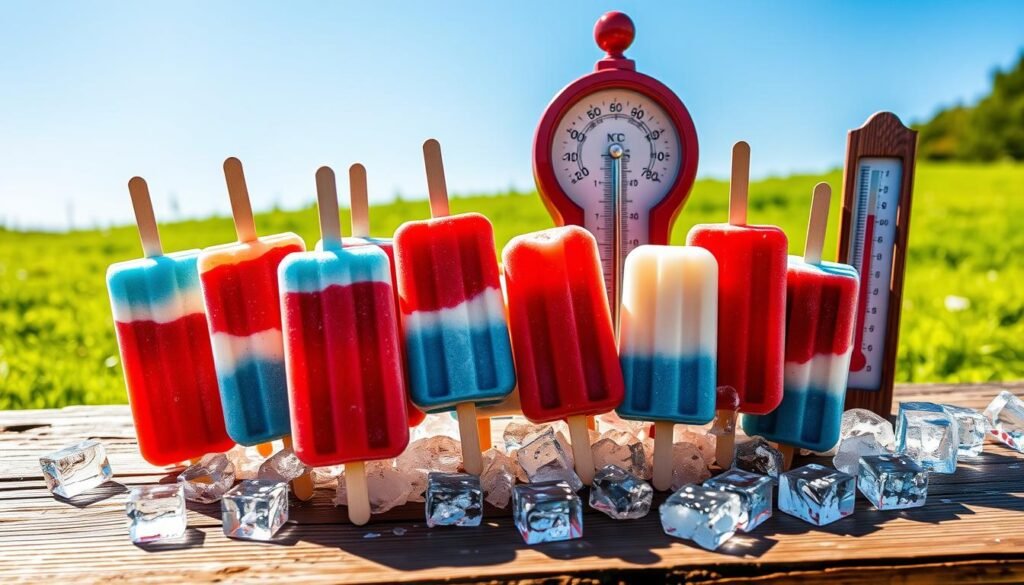
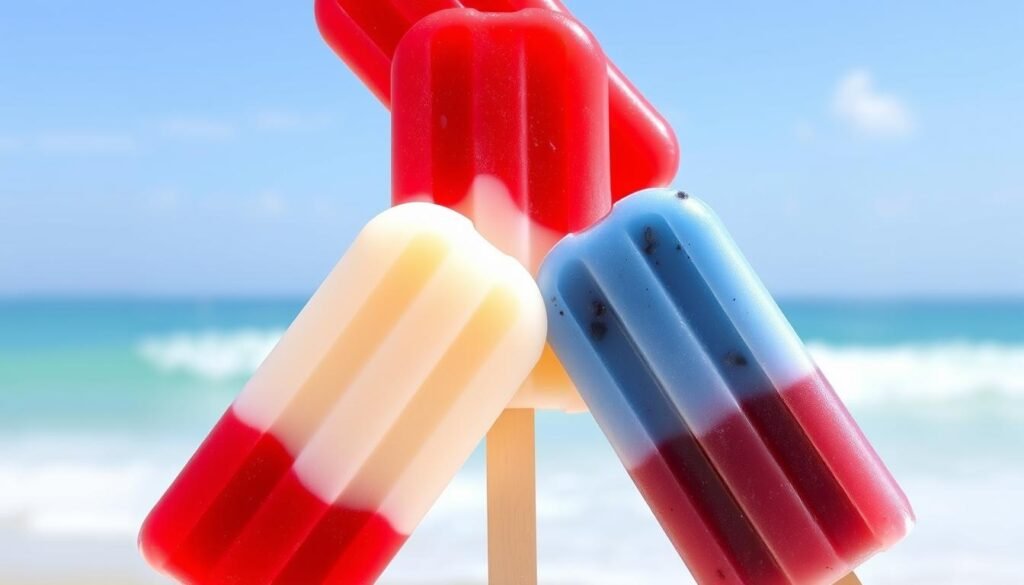
I love making red, white, and blue popsicles for hot summer days. They are easy to make and loved by all. Their colors show off American pride and cool down anyone.
Red, white, and blue popsicles are perfect for summer. I’m excited to share my favorite recipe with you. I’ll show you how to make these tasty summer treats.
Looking for a cool snack or a fun party dessert? Red, white, and blue popsicles are perfect. They’re easy, delicious, and great for hot days, making them a top summer treat.
The Perfect Patriotic Summer Refreshment
When summer comes, I look for ways to cool down and have fun outside. Red, white, and blue popsicles are my go-to for summer fun. They’re perfect for Fourth of July parties or backyard barbecues.
These popsicles are a hit with everyone. The colors of the American flag make them special. You can make them for any favorite team or holiday, making it fun for the whole family.
Why These Colors Matter
The colors red, white, and blue mean a lot in America. They stand for freedom, purity, and justice. Using these colors in your dessert adds a patriotic touch.
Best Occasions to Serve
Red, white, and blue popsicles are great for summer parties. They’re perfect for Fourth of July or backyard barbecues. You can also make them for your favorite team or holiday.
Creating Memories with Frozen Treats
Frozen treats are a fun way to enjoy summer. Making your own patriotic popsicles is a great idea. They’re delicious and make everyone happy.
Essential Ingredients for Red, White, and Blue Popsicles
To make yummy blue popsicles, you need a few things. You’ll need fresh or frozen fruit, sugar, and water. For the blue layer, use blueberries or blue raspberries. The red layer can be strawberries or raspberries. The white layer is made with vanilla yogurt or coconut milk.
Think about the flavor and color you want. Blueberries are perfect for blue popsicles. They taste sweet and tangy. You can also add food coloring to make the colors pop.
Here is a simple table to help you plan your popsicle ingredients:
| Layer | Ingredients |
|---|---|
| Blue | Blueberries, blue raspberries, granulated sugar, water |
| Red | Strawberries, raspberries, granulated sugar, water |
| White | Vanilla yogurt, coconut milk, granulated sugar, water |
With these ingredients, you can make tasty and colorful blue popsicles. They’re great for hot summer days.
Kitchen Tools You’ll Need
To make tasty Red, White, and Blue Popsicles, you need the right tools. You’ll need popsicle molds and sticks. You can find these at kitchen stores or online.
Choose molds that are easy to clean and strong. A blender or mixer is also key. Look for one that’s easy to clean and has different speeds.
Popsicle Molds and Sticks
Think about how many popsicles you want to make. Some molds come with sticks, others don’t. Pick molds that are easy to use.
Mixing Equipment
You’ll also need measuring cups and spoons. Having easy-to-clean tools helps a lot.
Storage Containers
After freezing, you’ll need containers to keep them fresh. Choose ones that are airtight and easy to label. This makes serving your popsicles simple.
Making the Red Layer
To make the perfect red layer, think about your strawberry choices. You can use fresh or frozen strawberries. Raspberries or cherries are good alternatives too.
Puree the fruit in a blender or mixer. Then, strain it through a fine-mesh sieve to get rid of seeds.
For a natural red color, use beet juice or pomegranate juice. These choices make your layer vibrant without artificial colors. Adding a bit of lemon juice can enhance the strawberry flavor.
Strawberry Options
There are many strawberry types, each with its own taste and feel. Albion, Camarosa, and Ventana are popular ones. Mixing different types can create a special flavor.
Raspberry Alternatives
Raspberries offer a tart taste, similar to strawberries. They give your layer a lovely color. Mixing raspberries with strawberries can make a unique taste.
Natural Coloring Tips
To get a natural red, use beet juice or pomegranate juice. Just add a few tablespoons to your strawberry mix and stir. Turmeric can add yellow-orange, but use it sparingly to avoid overpowering the strawberries.

These tips help you make a stunning and tasty red layer for your popsicles. Try different strawberries and coloring methods to find what you like best.
| Fruit Option | Flavor Profile | Color |
|---|---|---|
| Strawberries | Sweet and slightly tart | Red |
| Raspberries | Tart and slightly sweet | Red-Purple |
| Cherries | Sweet and fruity | Red |
Creating the Perfect White Center
To make a smooth white center for my popsicles, I use vanilla yogurt. It tastes delicate and feels creamy. I add a bit of vanilla extract for more flavor.
Then, I mix the yogurt with sugar and water. This makes the white center smooth and refreshing.
Coconut milk is another choice for the white center. It makes the popsicles creamy. But, I like vanilla yogurt better for its light taste.
For extra texture, I sometimes add shredded coconut or nuts to the yogurt.
Here’s a simple recipe for the white center:
| Ingredient | Quantity |
|---|---|
| Vanilla yogurt | 1 cup |
| Granulated sugar | 2 tablespoons |
| Water | 1 tablespoon |
| Vanilla extract | 1/4 teaspoon |
Follow this recipe to make a tasty white center for your popsicles. Vanilla yogurt is key to their flavor and texture. Enjoy a cool treat on a hot day.
Crafting the Blue Layer
To make the blue layer for our popsicles, we use a blueberry base. It gives our popsicles a beautiful blue color and a sweet taste. Fresh or frozen blueberries work best for this.
First, we puree the blueberries in a blender. Then, we strain the mix to get rid of seeds. This makes the layer smooth. Adding lemon juice can also improve the flavor.
Blue spirulina is another way to color our popsicles. It’s a natural choice for a unique look. Mixing blueberries with blue spirulina makes a vibrant blue layer.
Blueberry Base
The blueberry base is key for our blue layer. Using fresh or frozen blueberries and following simple steps makes a delicious layer. It’s perfect for our popsicles.
Blue Spirulina Option
Blue spirulina is a fun way to color our popsicles. It’s a natural dye that adds a special touch. With some creativity, you can make a stunning blue layer for our popsicles.
Layer Assembly Techniques
To make perfect Red, White, and Blue Popsicles, you need to get good at layer assembly. Start by filling the molds with red, then white, and end with blue. It’s like building a colorful tower, layer by layer.
When you put the layers together, leave space at the top for the popsicle stick. This keeps the stick in place and adds fun to the popsicle. You can even make patterns with the stick for a unique look.
Remember, be gentle and patient when you assemble the layer assembly. You can also try different popsicle layers for new flavors and colors.
Follow these steps and tips to make beautiful Red, White, and Blue Popsicles. They’re great for summer. So, get creative with your layer assembly and enjoy making these tasty treats!
Freezing Time and Temperature Guidelines
To make your Red, White, and Blue Popsicles just right, follow these tips. Freeze them for 4-6 hours or overnight. This lets the flavors mix well and the popsicles get solid.
Freezing at 0°F (-18°C) or below is key. It keeps the popsicles smooth and even. This way, you get perfect popsicles every time.
Optimal Freezing Conditions
For the best popsicles, freeze them right. Place them in the freezer in a single layer. This stops them from sticking together.

Troubleshooting Tips
Having trouble with your popsicles? Don’t worry. Check your freezer’s temperature first. If it’s off, adjust it and try again.
Try freezing them for a different time too. With these tips, you’ll make perfect Red, White, and Blue Popsicles every time.
| Freezing Time | Temperature | Results |
|---|---|---|
| 4-6 hours | 0°F (-18°C) | Perfectly frozen popsicles |
| 2-3 hours | 10°F (-12°C) | Partially frozen popsicles |
| Overnight | -20°F (-29°C) | Rock-hard popsicles |
Creative Variations and Mix-ins
When I make Red, White, and Blue Popsicles, I like to add special mix-ins. Adding yogurt makes them taste tangy. I use coconut milk for the white layer for a creamy feel.
Adding fruit like strawberries or blueberries makes them fun to eat. It’s a tasty surprise in every bite. I also use almond milk or soy yogurt for those who can’t have dairy.
There are so many ways to make popsicles special. You can mix raspberries and blueberries or add lemon juice for a zing. It’s all about having fun and trying new things. Yogurt and other mix-ins make your popsicles unique and yummy.
Fruit Chunk Additions
Adding fruit chunks is a great idea. Just chop up fruits like strawberries or bananas. Then mix them into the popsicle mix before freezing.
Dairy-Free Alternatives
If you can’t have dairy, don’t worry. Use almond milk, soy yogurt, or coconut milk. They make creamy popsicles that everyone can enjoy.
Storage and Make-Ahead Tips
To keep your Red, White, and Blue Popsicles fresh, follow these tips. Store them in an airtight container or plastic bag in the freezer. Make sure they are tightly sealed to avoid freezer burn.
This way, you can make popsicles ahead of time. Store them in the freezer for up to 3-4 months. It’s perfect for a make-ahead plan.
When you’re ready to serve, take the popsicles out of the freezer. Let them thaw for a few minutes. You can also wrap each popsicle in plastic wrap or aluminum foil for easy storage and transport.
This is great for parties or events. You’ll have a refreshing treat ready to go.
Here are some additional storage tips to keep in mind:
| Storage Method | Shelf Life |
|---|---|
| Airtight container in freezer | 3-4 months |
| Plastic bag in freezer | 3-4 months |
| Wrapped in plastic wrap or aluminum foil | 2-3 months |
By following these storage tips and making popsicles ahead, you can enjoy them all summer. You’ll also save time and effort.
Serving Suggestions and Presentation Ideas
Serving Red, White, and Blue Popsicles is fun. It’s like adding excitement to any party. Try using popsicle sticks and flags on a platter for a cool display.
For extra flair, top popsicles with strawberries or blueberries. Or use edible flowers or sprinkles. This adds color and a sweet taste. You can also have a DIY popsicle bar with toppings like whipped cream or chocolate chips.
These ideas make your popsicles a hit at any party. They’re perfect for a patriotic event or a summer bash. Your guests will love the taste and the fun presentation.
Enjoy Your Homemade Frozen Pride
Making red, white, and blue popsicles at home is easy and fun. It’s a great way to enjoy the summer. These popsicles are perfect for celebrating America’s freedom or just for a cool treat.
I hope you’re excited to make these patriotic popsicles. You can make them your own with different flavors. So, get creative and enjoy your homemade popsicles!

